
To repair a plumbing leak, shut off the water to that pipe or fixture, dry the area, find the exact point where water escapes, and then fix it with the right method for the leak type. A loose fitting needs tightening, a pinhole needs a clamp or a cut-out section, and a failed joint usually needs a new one.
The hardest part is the first step, because water travels along pipes and framing before it shows. The sections below cover how to trace a leak, what temporary repairs actually hold, and when the better choice is to stop and bring in a licensed plumber.
Why the wet spot is rarely the leak
Water follows gravity and the path of least resistance. A drip on a ceiling can start in a joint two feet away, and a damp baseboard may trace back to a supply line behind the wall. Treat any stain as a clue, not an address.
Start by looking up and sideways from the wet area. Check the highest point where moisture shows, then look along any pipe that passes through. A dry paper towel held against a pipe will pick up a slow weep that your eyes miss.
If the stain keeps growing after you close every fixture, the leak is probably under pressure. That is the point to shut off the main and think about getting help rather than guessing.
Tracing a leak without opening a wall
These steps use only a meter, a flashlight and patience. They narrow the search before anyone cuts drywall.
- 1
Run the meter test
Turn off every fixture, then read the water meter. If the dial or low-flow indicator moves, water is escaping somewhere.
- 2
Split the house in two
Close the main, then check whether the meter stops after you close any interior shutoff. This tells you which zone holds the leak.
- 3
Check the usual suspects
Look at toilet fill valves, water heater connections, washing machine hoses and under-sink supply lines before anything hidden.
- 4
Use the dye test on toilets
Add a few drops of food coloring to the tank. If color shows in the bowl without flushing, the flapper leaks.
- 5
Listen and feel
Press an ear to the wall near a suspect pipe, or run a dry hand along it. Cold, damp or hissing spots mark the area.
Quick fixes and how long each one holds
Temporary repairs are meant to buy time until a plumber arrives. Some are better than others, and none of them replaces a proper fix.
| Temporary fix | Best for | How long to rely on it |
|---|---|---|
| Rubber and hose clamp | Pinhole in straight pipe | A day or two at most |
| Epoxy putty | Small weeps on dry metal | Short term only |
| Self-fusing silicone tape | Hairline drips on pipe | Short term only |
| Push-fit repair coupling | Cut-out section of pipe | Often permanent if installed right |
| Compression coupling | Straight splits in copper | Often permanent if installed right |
| Valve repacking | Drip at a valve stem | Long term if the valve is sound |
Epoxy, tape and clamps depend on dry, clean pipe and no movement. A leak under heavy pressure or on a joint will usually push past them.
No-permit leak repairs and verifying your plumber
Kentucky's 815 KAR 20:050 says no plumbing permit is required for repairing leaks, cocks or valves. That means a straightforward leak fix does not need paperwork. Replacing a water service or house sewer does, so ask what a quoted repair actually involves before the work starts.
The EPA's WaterSense program says household leaks can waste nearly 10,000 gallons a year, and about 10 percent of homes leak 90 gallons or more per day. That is why tracking your meter and your water bill matters. Check your bill to confirm your supplier and compare a few months of use.
A licensed master plumber can pull permits, and you can check a license with the state Division of Plumbing. Households in Florence and Crescent Springs should do the same, since verifying credentials beats finding out after a problem.
Source type: Kentucky 815 KAR 20:050 and Division of Plumbing, EPA WaterSense leak figures
Leak types and the repair that suits each
Different leaks call for different methods. Pick the one that matches what you actually found.
Loose compression fitting
Snug it a quarter turn with a wrench. Do not crank, since overtightening can crack the nut or the pipe.
Failed threaded joint
Drain the line, clean the threads and rewrap with fresh thread seal tape before reassembling.
Pinhole in a copper line
A clamp can hold for a short time. Lasting repair means cutting out the section and joining new pipe.
Failed supply line or hose
Replace the whole braided line. These are cheap parts and a common source of floods.
Leaking shutoff valve
Try tightening the packing nut. If it still drips, the valve itself needs replacing.
Leak at a drain joint
Tighten the slip nut and check the washer. A cracked trap or a warped fitting should be replaced.
Do it yourself or hand it off
Some leaks are good first projects, and others carry real risk. The line is clearer than it looks.
Reasonable to do yourself
- Visible leaks at a fixture or supply line
- A dripping valve stem or loose fitting
- Toilet tank parts and flappers
- Anything you can isolate with a nearby shutoff
- Accessible pipe that is dry and clean
Better to call a plumber
- Leaks inside a wall, ceiling or floor
- Any leak you cannot trace to a source
- A meter that runs with everything off
- Corroded or old galvanized pipe
- Leaks near the water heater, meter or main
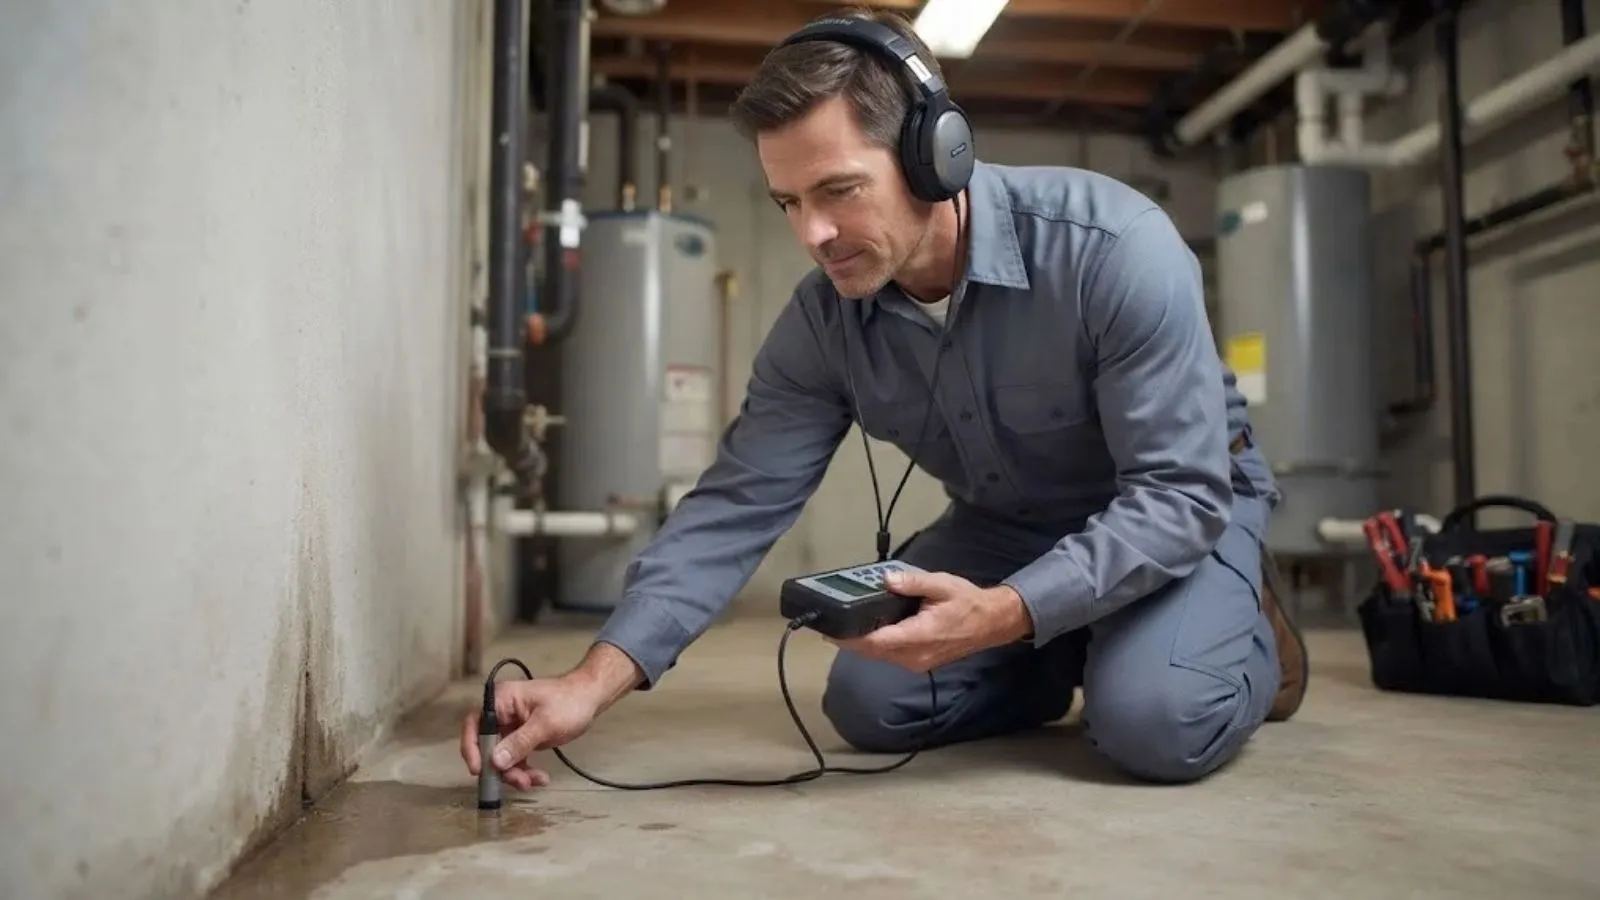
If you cannot locate the leak, professional leak detection uses tools that listen and scan so walls are opened only where needed.
When repairs keep failing, the pipe is the problem
One leak in a healthy system is a repair. Three leaks in two years from the same pipe suggests the pipe is wearing out, and each patch simply moves the weak point down the line. Older galvanized steel is the classic example, since it corrodes from the inside and fails in new places.
In that case, the economical choice is often to replace a longer run, or in some houses, to look at whole house repiping. A plumber can inspect the pipe, compare options and explain trade-offs before any work begins.
The reverse also holds. Do not rush into replacing everything because of a single leak. A clear assessment, with a price set before work starts, separates a failed joint from a failing system.
Quick Answers on How to repair plumbing leaks
Visible leaks at fixtures, supply lines and valves are within reach for many homeowners. Leaks inside walls, under floors or on main lines are better left to a plumber, because the damage risk is higher.
Damage can start within hours if water is running, and slow leaks rot cabinets and framing over weeks. If you cannot fix it today, shut off the water to that line and arrange a repair.
Coverage varies by policy and cause. Many policies treat sudden damage differently from long-term seepage. Read your policy or ask your insurer, and keep photos and records of the repair.
A temporary fix such as a clamp or putty holds water back for a short time. A permanent repair replaces the failed section or joint with new pipe or fittings, so the leak does not return.
Often yes. Listening devices, moisture checks and a meter test can narrow the location first. The plumber then opens only the spot that needs it.